

Welcome to the addictively relaxing world of diamond art! If you have just purchased your very first kit, or you are thinking about trying out this incredible hobby, you are in for a treat. Also known as crystal art painting or diamond embroidery, this craft combines the best parts of paint-by-numbers with the sparkling brilliance of cross-stitch mosaics.
However, opening up that canvas for the first time can feel a bit overwhelming. You’ve got bags of tiny sparkling gems, a sticky canvas, a pink pen, and a square of wax. Where do you even begin? What are the unwritten rules?
At The Sparkle Grid, we have helped thousands of crafters start their journey. To save you time, frustration, and a few dropped diamonds, we have compiled the ultimate list: The 10 Things I Wish I Knew Before I Started Diamond Painting.
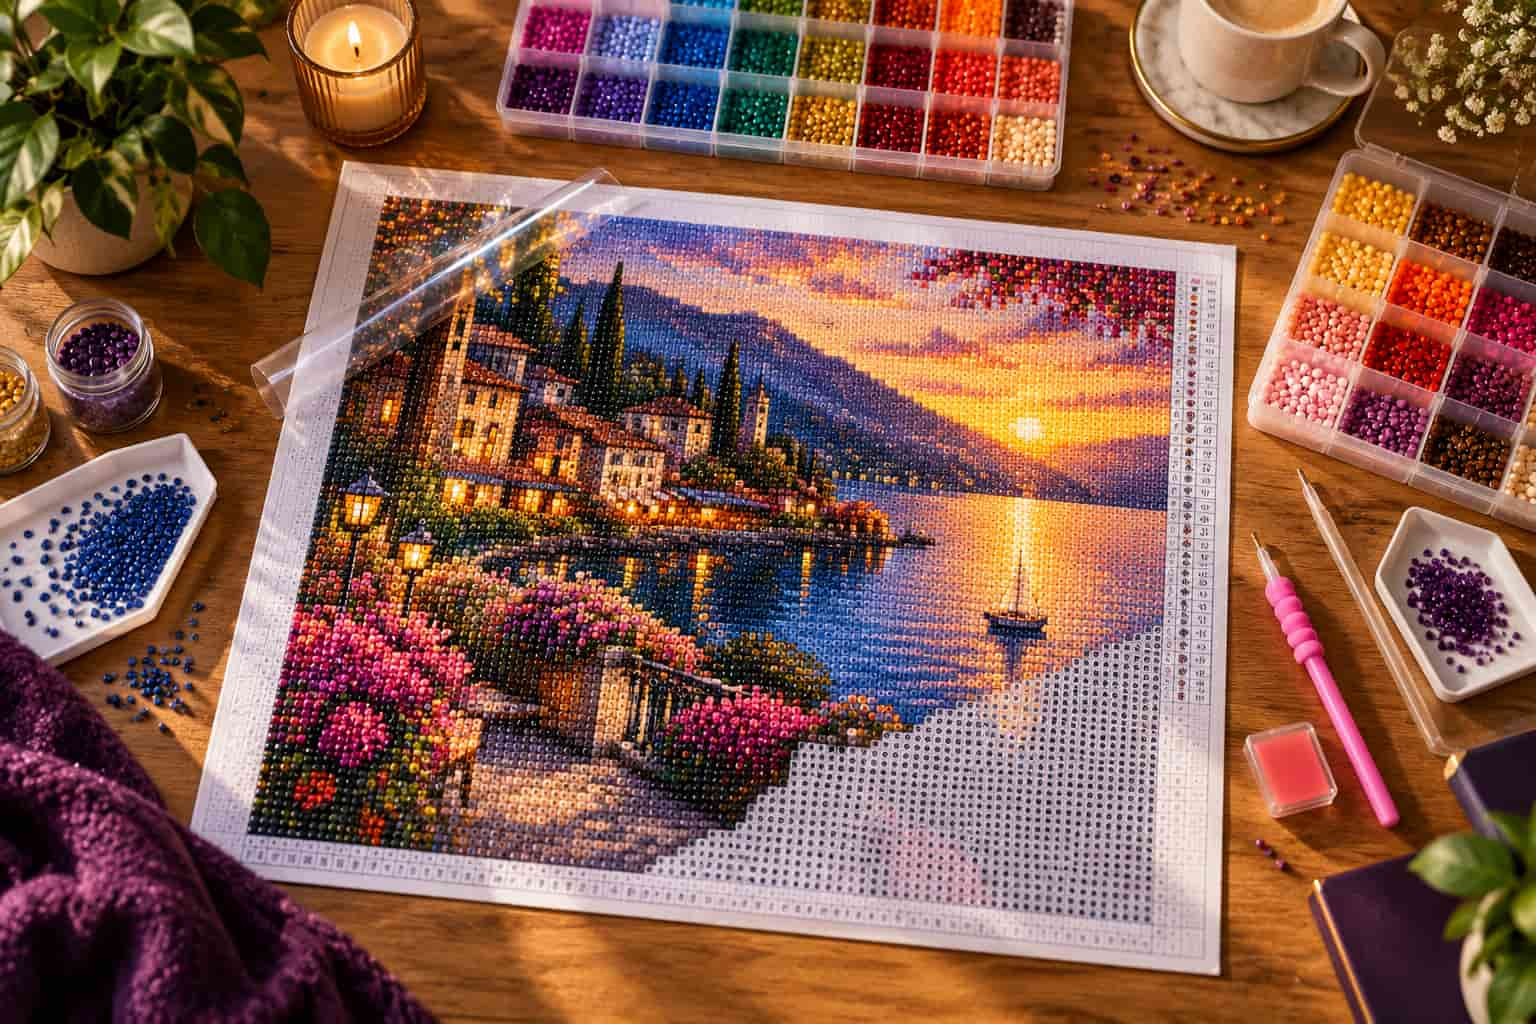
1 Round Drills are a Beginner's Best Friend
When shopping for diamond painting kits for beginners, you will constantly see the terms "Round Drills" and "Square Drills." If this is your first time, always choose round drills. Because they are circular, they are much more forgiving. You do not have to place them perfectly straight on the canvas grid. They are faster to pick up, faster to place, and offer a brilliantly satisfying sparkle.
2 Bigger Canvases Equal Better Detail
It is tempting to buy a tiny 30x30cm kit for your first project. However, 5d art relies on pixels (the diamonds) to create an image. If the canvas is too small, the picture will look blurry and pixelated. We highly recommend starting with at least a 40x50cm canvas. It offers the perfect balance—it’s not too massive to overwhelm you, but large enough to provide crisp, beautiful details.
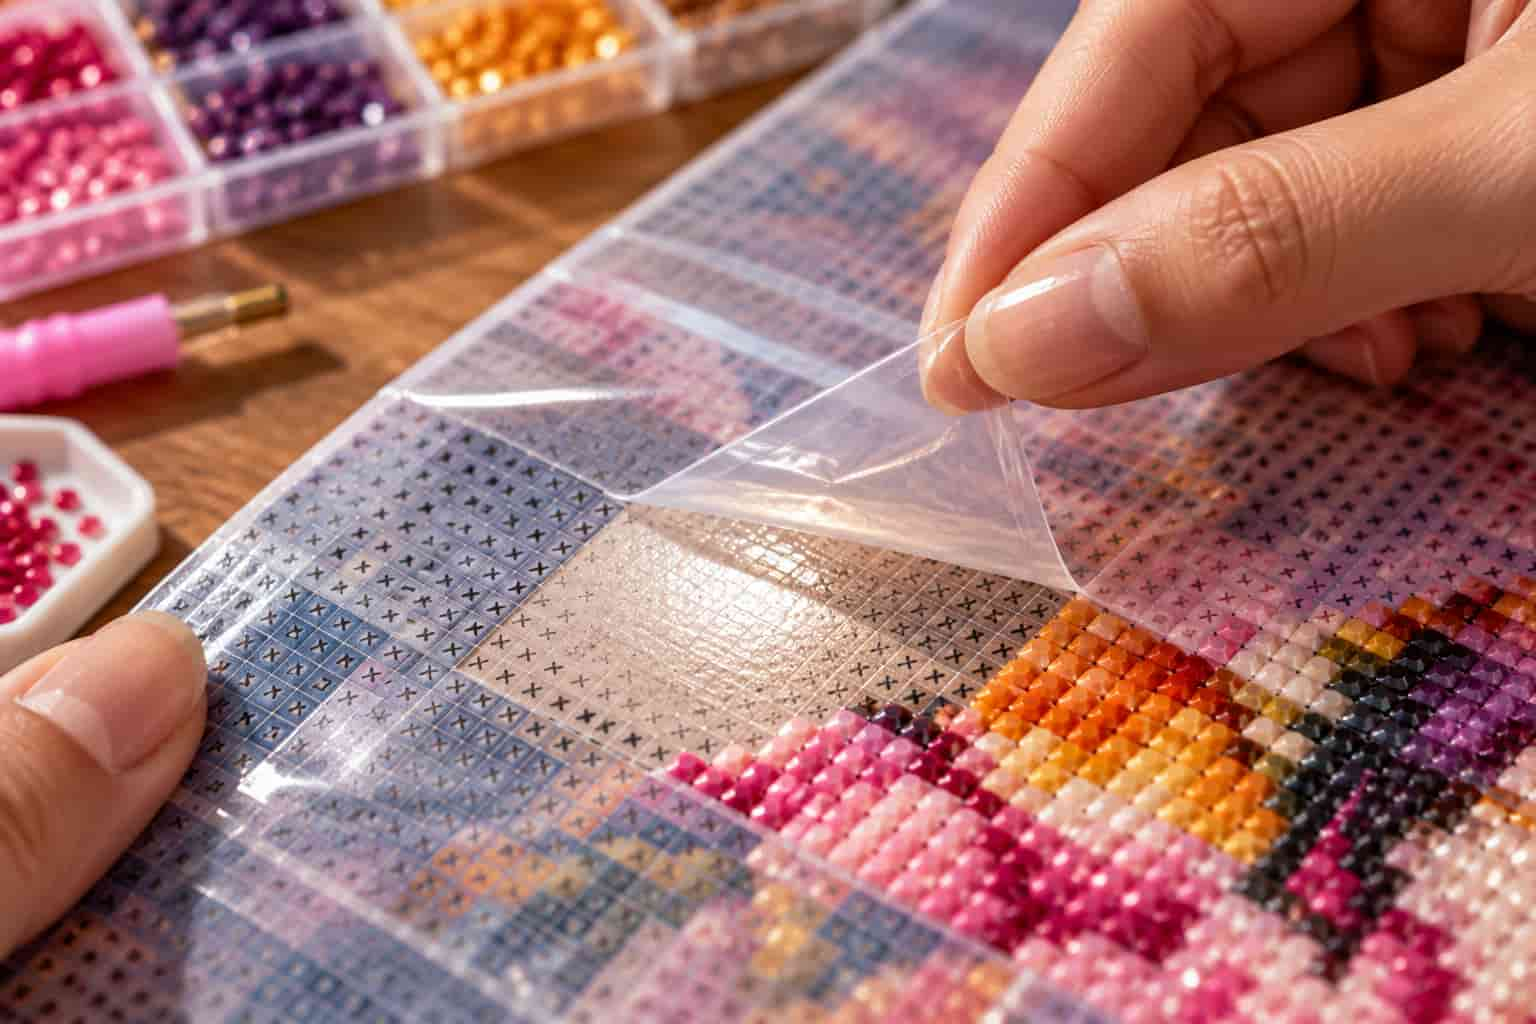
3 Never Rip Off the Entire Plastic Cover
Your diamond painting canvas comes coated in a layer of poured glue, protected by a clear plastic film. Do not peel the whole thing off! If you do, dust, lint, and pet hair will immediately stick to the canvas, ruining the adhesive. Instead, peel back just a small 2-inch square section that you plan to work on during that sitting.
4 "Kitting Up" Will Save Your Sanity
Those little crinkly plastic baggies the diamond dotz come in? They are terrible for long-term use. Before you place a single diamond, invest in a small bead organizer (like a pillbox or small tic-tac containers). Label each container with the corresponding DMC number or symbol from your canvas. This process, known in the community as "kitting up," will make your crafting experience 100x more relaxing.
5 You Don't Need Wax for Every Single Diamond
The pink wax included in your bead painting kits goes inside the tip of your applicator pen to make it tacky. A common beginner mistake is jabbing the pen into the wax before every single diamond. You only need to refill the wax when the pen stops picking up the drills easily—which is usually after placing 30 to 50 diamonds!
6 Custom Kits Make the Ultimate Project
While doing pre-designed landscapes is fun, nothing beats the emotional reward of a custom diamond painting kit. You can upload a photo of your pet, your wedding day, or your children, and we will turn it into a diy diamond painting masterpiece. It is the perfect project once you get the hang of the basics, and they make unforgettable personalized gifts.
7 A Light Pad is a Total Game Changer
If you find yourself squinting to read the tiny symbols on the canvas, buy a thin LED light pad (often sold for drawing/tracing). Placing this under your canvas illuminates the symbols from behind, completely eliminating eye strain. It is the #1 recommended accessory for diamond art kits for adults.
8 Watch Your Posture
Diamond painting is so addictive that you might look up and realize 3 hours have passed! "Crafter's Neck" is a real thing. Try to work on an angled drafting table or use a tabletop easel. Keep your back straight and take stretching breaks every hour to keep the experience enjoyable.
9 Mistakes are Incredibly Easy to Fix
Placed a blue diamond where a red one was supposed to go? Don't panic. The poured glue on premium 5d diamond painting kits is forgiving. Simply grab a pair of tweezers, gently pluck the wrong diamond off the canvas, and place the correct one. No harm done.
10 You Must Seal Your Finished Canvas
Once you place that final, satisfying diamond, your work isn't technically done. Over the years, dust can settle between the diamonds. To preserve your jewel painting forever, brush a specialized diamond painting sealer (or a thin layer of glossy Mod Podge) over the finished canvas. This locks every diamond into place and maintains that gorgeous, 5D sparkle permanently.